Guitar Maintenance
“To put on new strings, we first have to remove the old ones. Start by loosening each string gradually until there’s no tension left. Then simply cut the strings.”
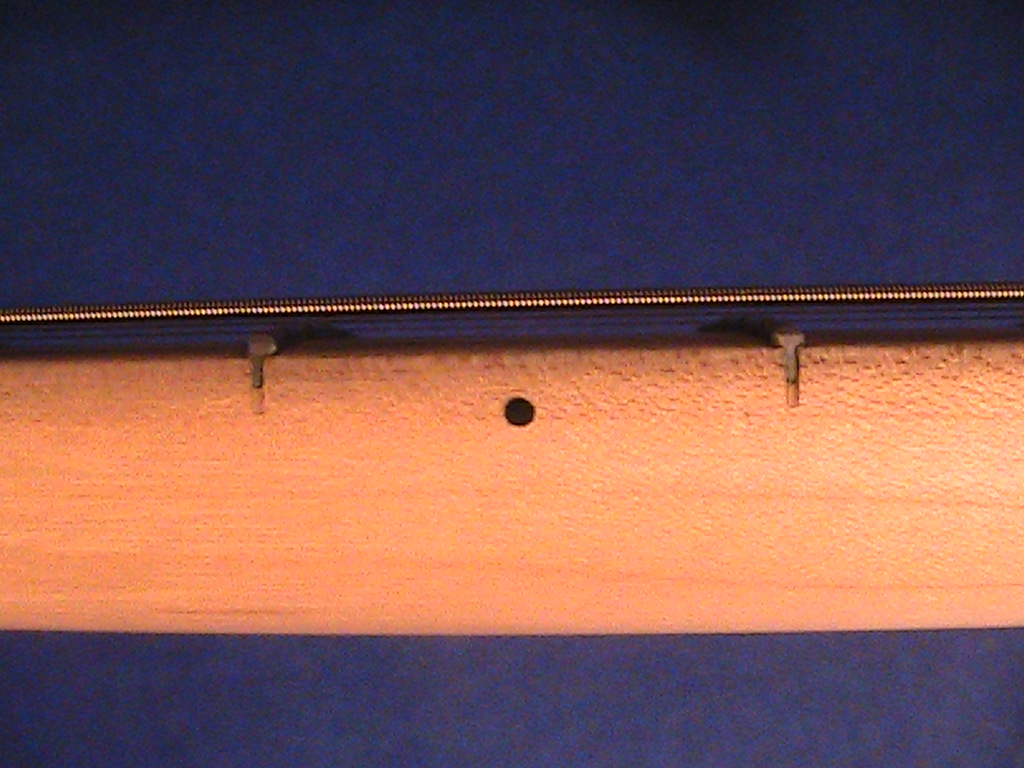
“Remove the strings from the neck and body. Now is a good time to clean up your instrument- you can reach all those inaccessible spots the strings were covering.”
If you have a rosewood fingerboard, you can also apply some “guitar-grade” lemon oil. Rosewood is a porous wood and it can start to dull and crack over time if left unchecked. A bit of Lemon oil will rehydrate it and help clean it. Just apply a generous amount on the fingerboard and let it seep in. Wipe off any excess.”
“After you’re through cleaning, we need to put on our new strings. Remember to put the string through their respective holes before you do ANY cutting!!! Make sure the strings are in order before going on.”
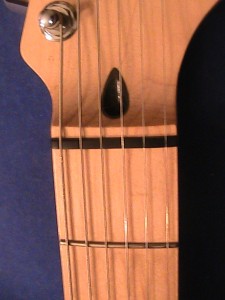
“Start with your Low E/6th string. Pull it taut to its tuner. Now measure about 1 1/3 posts up. Make a right angle bend, aiming in towards the key. This helps us measure the correct string length. Feed the string through to your bend and start tightening the string. You can use your fingers to guide the string into a descending coil around the post. Stop when you feel tension. Check to make sure you’re in the nut slot (or under any relevant “string-trees”). Remember, you can always loosen and reposition a string…””If everything looks good, you can go ahead and cut the excess off. Cut close to the post but MAKE SURE YOU DON’T CUT THE STRING ITSELF!!!”
“Let’s try the A string. Pull it taut to its tuner. Now measure about 1 1/3 posts up. Make a right angle bend, aiming in towards the key. Feed the string through to the bend and start tightening. Guide the string into a descending coil around the post.”
“I’ve put on all the strings except the High E. We need to measure this one a little differently because we ran out of posts. Pull the string taut over its post. Now pinch it to mark its distance. Move your pinched “marker” to any other post and measure 1 1/3 posts and make your right angle bend. Now just feed the string through to the bend and start tightening. Guide the string into a descending coil around the post.”
“It takes a little a little time for the strings to lose their elasticity, but we can help them along by stretching them. Simply fret notes from low to high on each string and give a tug every time you change position. If you do this after tuning a few times, it will really help the strings break in faster.”